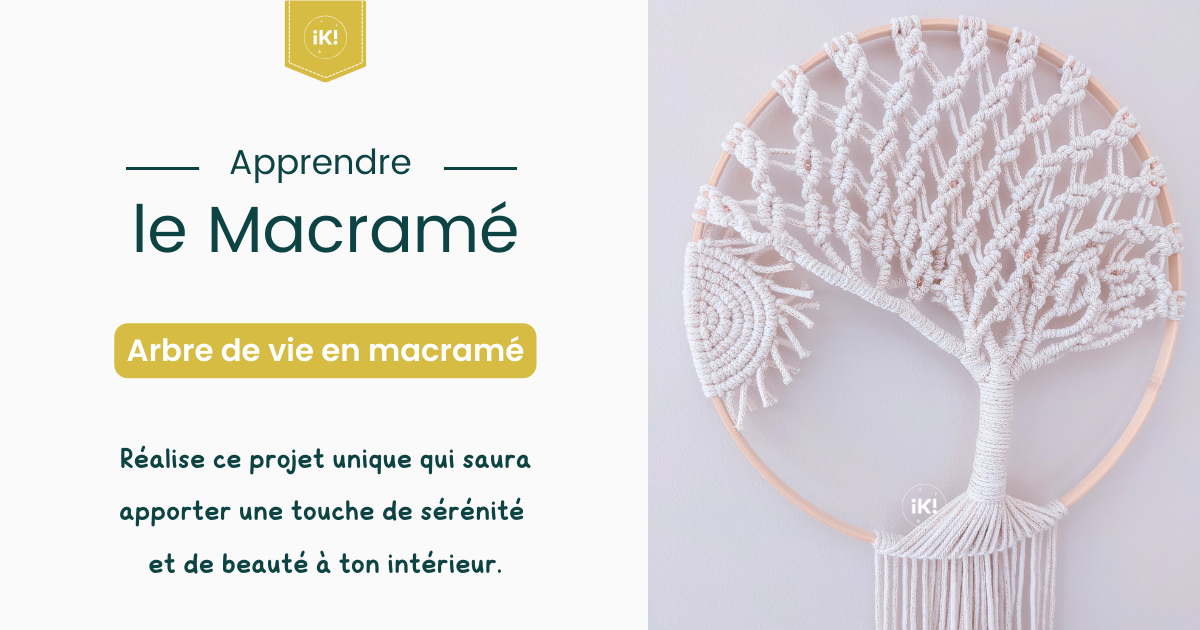
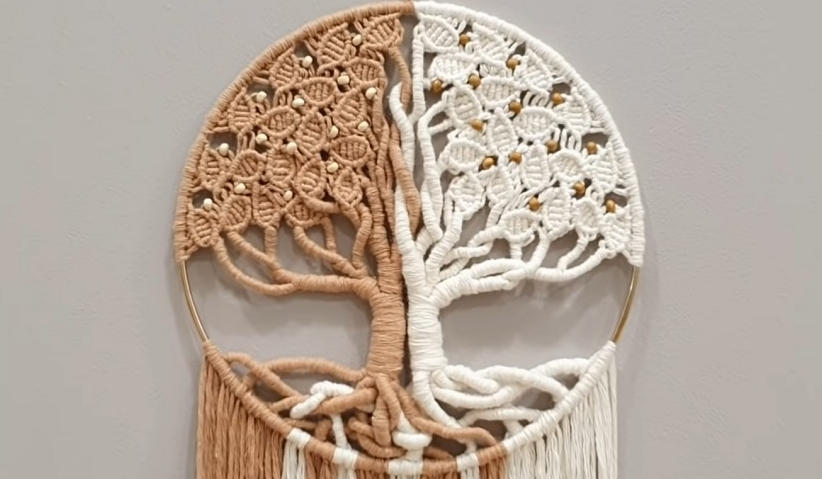
Okay, so picture this: me, surrounded by a chaotic explosion of macrame cord, looking like I’d wrestled a yarn bomb and lost. My cat, aptly named “Knotty,” was having a field day batting at the fringes. I was attempting (emphasis on attempting) to create a macrame tree of life. Let’s just say my initial efforts resembled more of a tangled spiderweb than a symbol of growth and prosperity. But hey, we all start somewhere, right? And that somewhere is usually a slightly embarrassing “Pinterest fail.” But don’t worry, this guide is here to help you avoid my mistakes and craft a gorgeous macrame tree of life that will actually, you know, look like a tree of life.
This isn’t just some trendy craft project; the Tree of Life is a beautiful symbol, representing connection, growth, and strength. Plus, it looks pretty darn cool hanging on a wall. So, grab your cords, your scissors, and maybe a glass of wine (because why not?), and let’s dive in!
What You’ll Need to Get Started
First things first, let’s gather our supplies. Don’t panic; it’s not a huge list. We’re going for a chill crafting session, not a full-blown art supply store takeover.
- Macrame Cord: This is kind of crucial. You’ll need quite a bit, so overestimate rather than underestimate. Cotton cord is a good choice for beginners – it’s readily available and relatively forgiving. (Pro tip: Choose a color you actually like. Trust me on this one.)
- Wooden Ring: This will be the base of your tree. The size is up to you, depending on how big you want your finished piece to be.
- Scissors: Sharp ones. Dull scissors and macrame do not mix.
- Measuring Tape: Because eyeballing it only gets you so far. (Unless you’re some kind of macrame savant, in which case, teach me your ways!)
- Comb or Brush: For fluffing out those gorgeous roots.
- Optional: Beads, feathers, little wooden charms… personalize it! Think of it as your own little macrame garden.
Don’t stress too much about getting the “perfect” supplies. The beauty of macrame is its rustic, handmade vibe. Imperfections add character! (That’s what I tell myself, anyway, when I inevitably mess something up.)
The Basic Knots: Your Macrame Building Blocks
Macrame is all about knots. Mastering a few basic ones will unlock a whole world of possibilities. Don’t be intimidated! They’re easier than they look. We’ll focus on the two most important ones for our tree of life:
The Lark’s Head Knot
This is how you attach your cord to the wooden ring. It’s the foundation of everything. Think of it as the seed from which your tree will grow.

- Fold a cord in half.
- Place the folded loop behind the ring.
- Bring the two loose ends of the cord over the ring and through the loop.
- Pull tight.
Practice this a few times until you get the hang of it. It should be snug and secure. (And yes, you can find a million YouTube videos demonstrating this. I highly recommend it!)
The Square Knot
This is the workhorse knot of macrame. You’ll be using it a lot. It’s what gives macrame its distinctive texture.
- Take four cords. Label them 1, 2, 3, and 4 from left to right.
- Take cord 1 and bring it over cords 2 and 3, and under cord 4.
- Take cord 4 and bring it under cords 2 and 3, and over cord 1.
- Pull tight. This is the first half of the square knot.
- Now, take cord 4 and bring it over cords 2 and 3, and under cord 1.
- Take cord 1 and bring it under cords 2 and 3, and over cord 4.
- Pull tight. This completes the square knot.
See? Not so scary! The key is to remember the sequence. Left over, right under. Right over, left under. (Or, you know, watch a video. No judgment here.)
Important Tip: Keep your tension consistent. Uneven tension will result in a wonky-looking tree. And nobody wants a wonky tree. (Unless you’re going for a “whimsical” look, in which case, go for it!)

Let’s Build Our Tree: Step-by-Step
Okay, now for the fun part! Time to transform those cords into a beautiful tree of life. Here’s a general outline; feel free to get creative and adapt it to your own style.
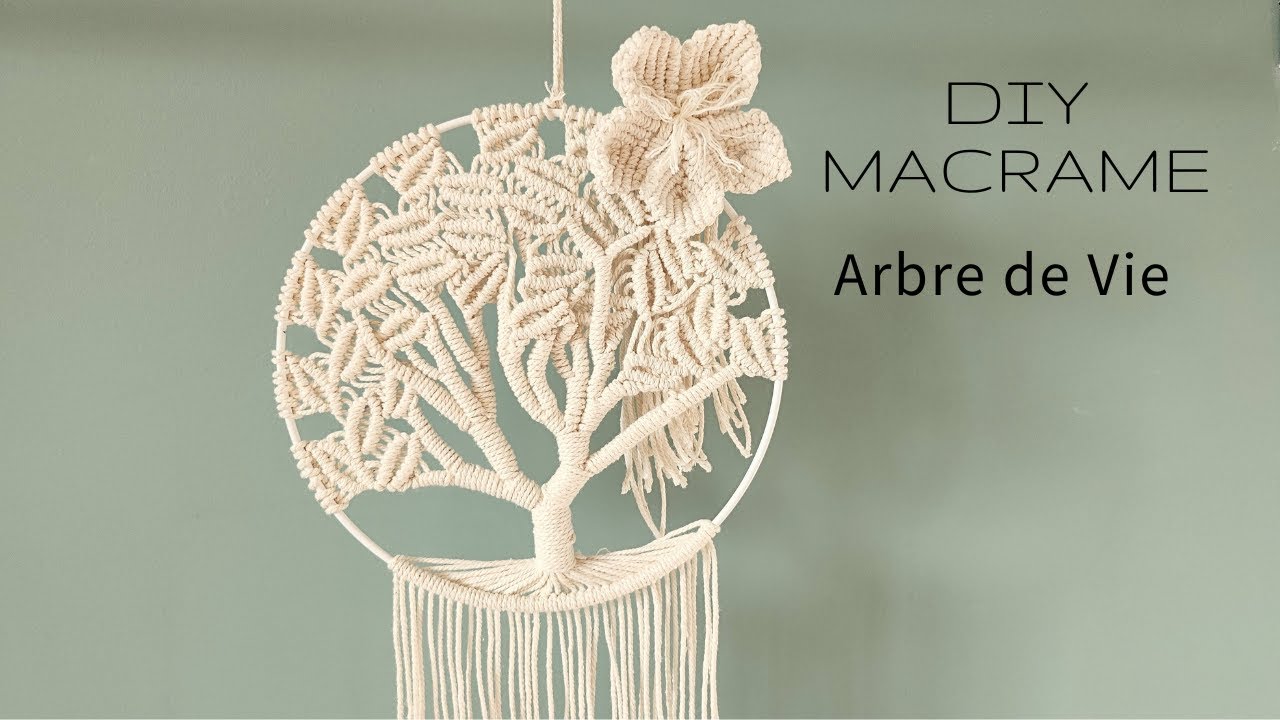
Creating the Branches
This is where you’ll use those square knots we practiced. You’ll be creating rows of square knots, starting from the top of the ring and working your way down.
- Attach your cords: Use the lark’s head knot to attach an even number of cords to your wooden ring. (The more cords you use, the fuller your tree will be.)
- First Row: Divide your cords into groups of four and tie a row of square knots across the ring.
- Subsequent Rows: For each new row, shift the groups of four slightly. This creates the staggered effect that gives the branches their shape.
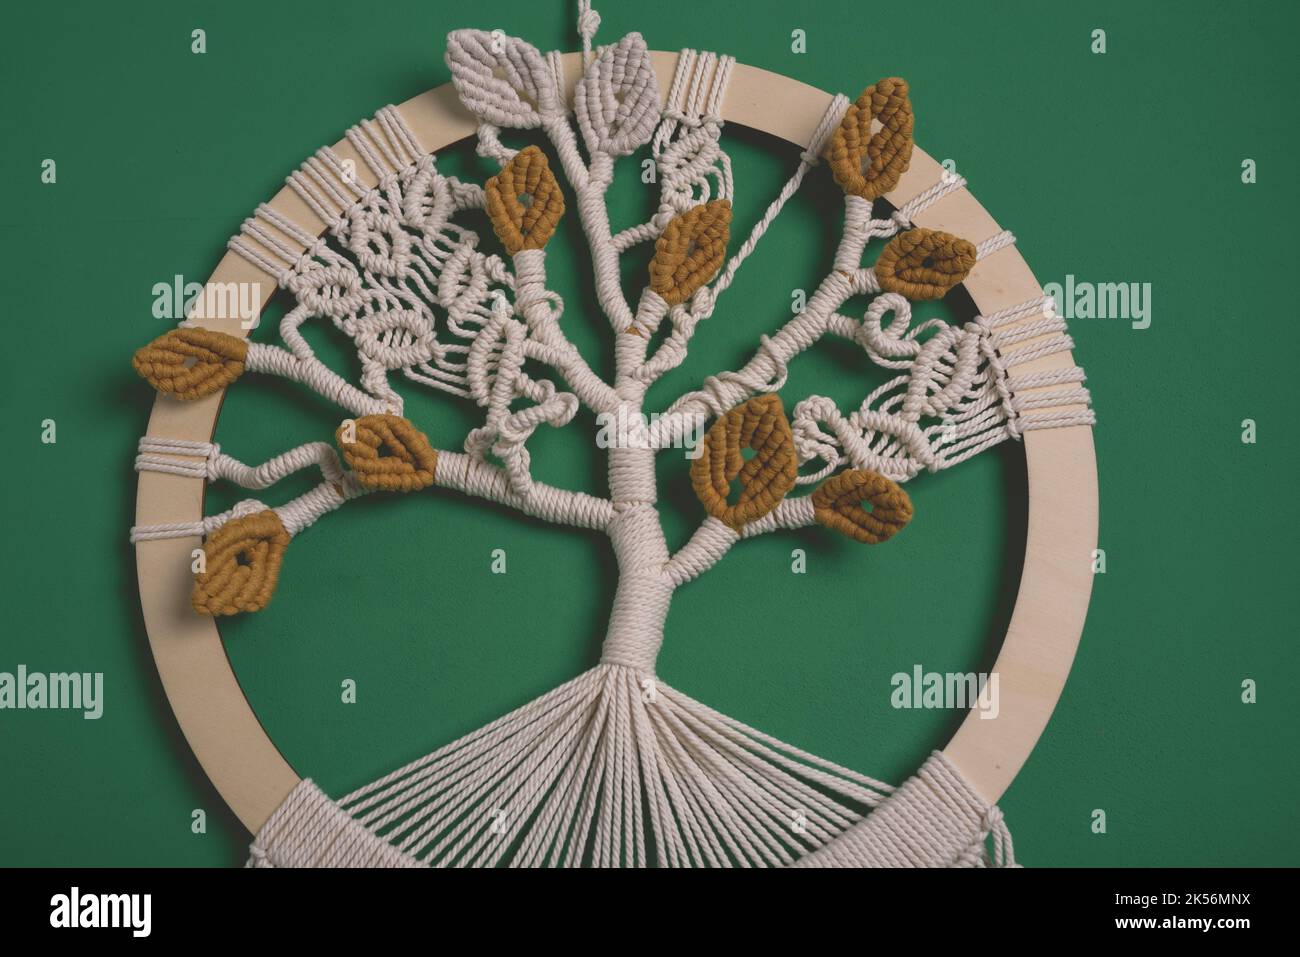
- Branch Length: Gradually increase the length of the branches as you move down the ring. This will give your tree a natural, flowing shape. (Think of how real tree branches grow!)
Side Comment: Don’t be afraid to experiment with different knotting patterns! You can use half square knots (which create a spiral effect), alternating square knots, or even add beads or other embellishments within the branches. Make it your own!
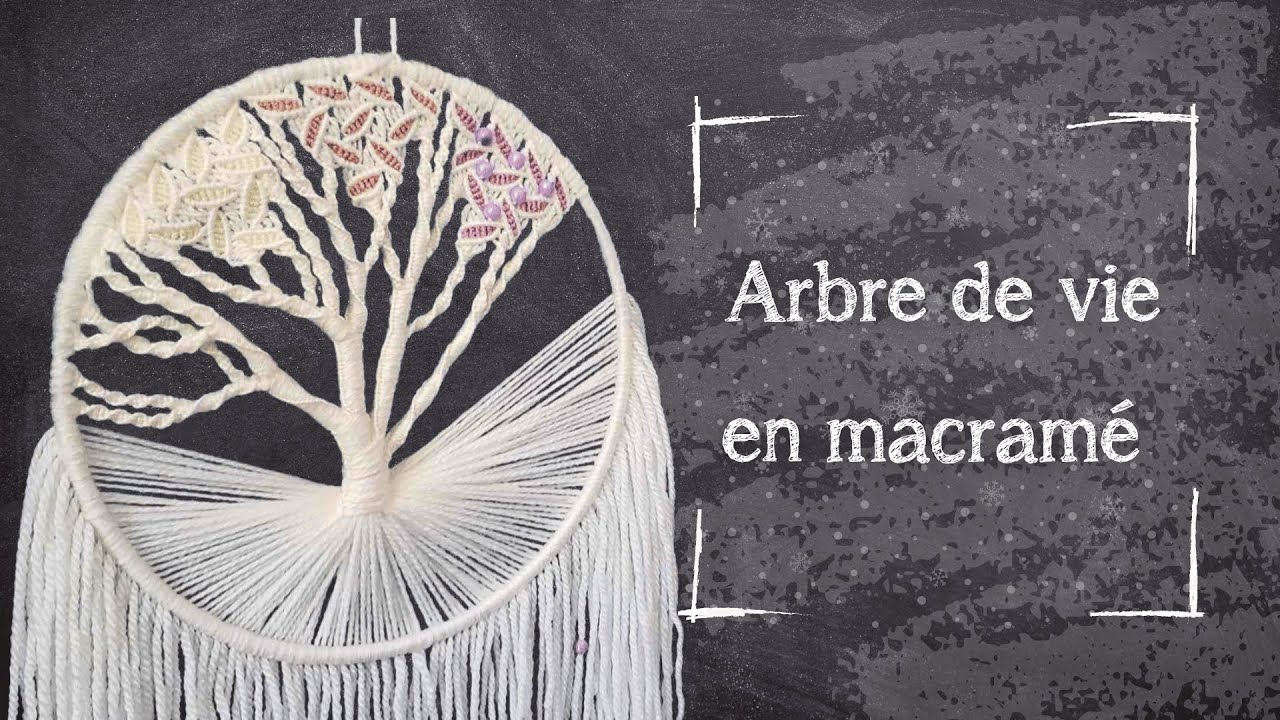
Forming the Trunk
The trunk is the sturdy base of your tree, representing stability and grounding.

- Gather the Cords: Once you’ve reached the desired length for your branches, gather all the cords together.
- Bind the Cords: Use a separate piece of cord to tightly wrap around the gathered cords, creating the trunk. Secure the ends of the wrapping cord by tucking them under the wraps.
- Alternative Trunk Options: You can also braid the cords together to create a braided trunk, or simply leave them hanging straight down for a more minimalist look.
The trunk should be thick and strong, visually supporting the weight of the branches. (It’s the backbone of your tree, after all!)
Rooting Around: Creating the Roots
The roots symbolize connection to the earth and ancestral origins. They also look really cool and bohemian.
- Divide the Cords: Separate the cords at the bottom of the trunk into smaller groups.
- Untwist and Fluff: Use a comb or brush to untwist the individual strands of cord in each group, creating a fluffy, textured effect.
- Trim and Shape: Trim the cords to varying lengths to give the roots a natural, organic look.
- Add Beads (Optional): You can add wooden beads to the ends of some of the root strands for extra detail.
Irony Alert: After spending all that time making neat knots, you’re now intentionally making a mess! But it’s a beautiful mess. Think of it as controlled chaos.
Finishing Touches: Making it Your Own
Now that you have the basic structure of your tree, it’s time to add those personal touches that will make it truly unique.
- Trim Any Stray Cords: Give your tree a final once-over and trim any cords that are sticking out or uneven.
- Add Embellishments: This is where you can really let your creativity shine! Add beads, feathers, charms, or anything else that speaks to you.
- Hang It Up: Find the perfect spot to display your masterpiece! A bedroom, living room, or even a covered porch would be ideal.
Direct Talk: Seriously, take a moment to admire your work! You created something beautiful with your own two hands. That’s pretty awesome.
Troubleshooting Tips (Because Things Don’t Always Go According to Plan)
Let’s be real: macrame isn’t always sunshine and rainbows. Sometimes, things go wrong. Here are a few common issues and how to fix them:
- Uneven Branches: Don’t panic! Just adjust the tension on the knots in the shorter branches to even them out.
- Tangled Cords: Take a deep breath and slowly untangle the cords. Patience is key. (Maybe put on some calming music?)
- Running Out of Cord: If you run out of cord mid-project, simply attach a new piece using a square knot. Try to hide the knot within the branches for a seamless look.
- General Frustration: Take a break! Sometimes, stepping away from the project for a few minutes (or even a few hours) can help you clear your head and come back with a fresh perspective.
Remember, macrame is a learning process. Don’t be discouraged if you make mistakes. Just keep practicing and experimenting, and you’ll be knotting like a pro in no time!
So there you have it! Your very own guide to creating a beautiful macrame tree of life. Now go forth and knot! And don’t forget to share your creations with me – I’d love to see them!